06: 3d design and printing
introduction
This page details what I learned with class 6, held on 9 July, 2020. After working for a few weeks with arduino, and after getting a basic understanding for how to model in 2 dimensions, we were ready to model in 3 dimensions, which would lead into us discussing how to work with our final projects.
3d design
This class was fairly devoted to understanding how 3D modeling works. A lot of us would be using 3D-printed models in our final project, so it was important (and interesting) to understand how it worked, so that we would have a better appreciation for it.
prusa slicer software
Part of the classwork today was to download and install the Prusa Slicer software from online. We downloaded it, so that we would be able to see our models in the 3D printer, and so that we would be able to print the models we upload there. Special configurations for the Prusa software can be found on Nathan's GitHub page.
ted sirota presentation
Another quite interesting thing we did in class today was listen to Ted Sirota, a colleague of Nathan's, discuss various methods of 3D modeling, how they work, and where we are today with them. There were a lot of quite interesting takeaways from the talk, and I certainly learned a lot about the various different types of 3D printing methods and modeling methods that exist. I even learned som e interesting tips and tricks for how to create big models, or even complex ones without any moving parts.
The class today was quite engaging and fun, and we even got a Prusa demonstration from Nathan after the Ted Sirota presentation.
3d modeling & scanning
Among the things that we discussed, we also talked about modeling and scanning 3D objects. Sometimes, to make models, we need a scan of the thing we are modeling, and there exists software for that, which we were briefly introduced to.
3d modeling in fusion360
We also learned a little bit more about generating 3D models in Fusion360, which built upon our foundations a little bit more thoroughly.
3d scanning
We got a brief introduction into 3d scanning with some photogrammetry applications as well. Victoria demonstrated some 3d scanning with an application, as we were also tasked with doing something along those lines for the assignment.
With a productive and interesting class, I was ready to get into the quite fun homework assignment.
assignment
This week's assignment consisted of a few things, and I did some extra stuff along with it.
3d model creating
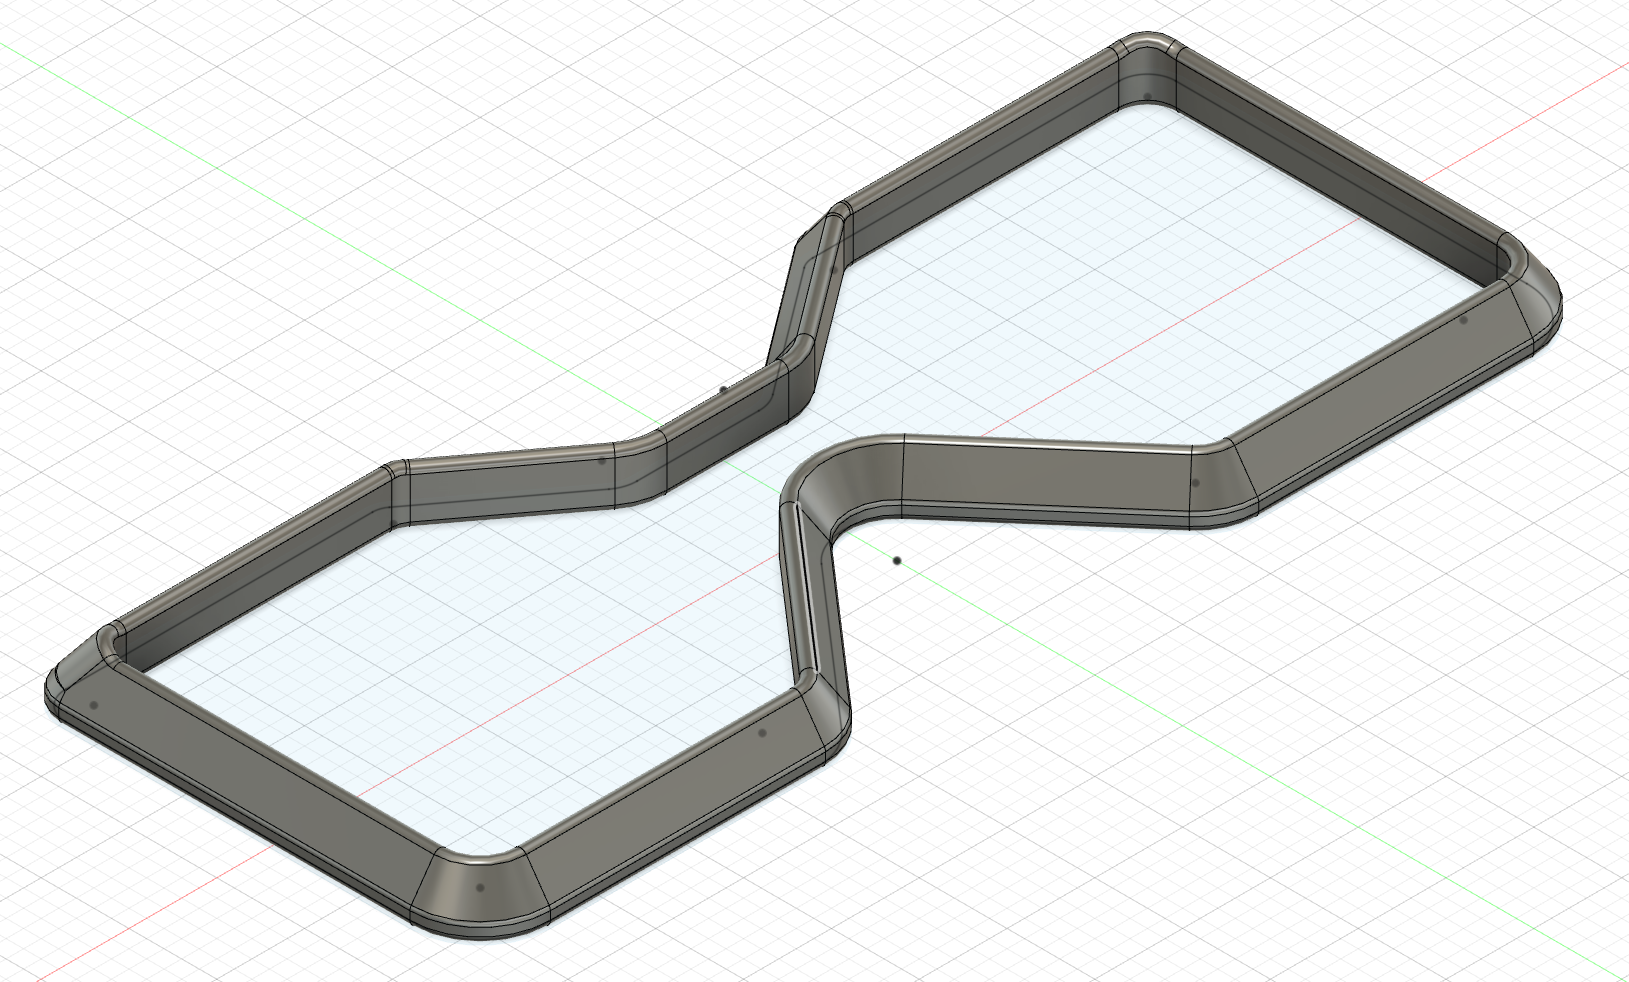
I decided to make a 3d model of glasses frames, as there is no model that I really need for my final project. I spent a lot of time getting the sketch correct, so that I would be able to fillet and offset without drastically altering the dimensions of the rest of the frame. The result is fairly satisfactory. I used an online glasses tutorial as a reference, though I decided to not use different layers and parts, as I wanted to see if I could accomplish that all in one file and with one component.
downloadable files
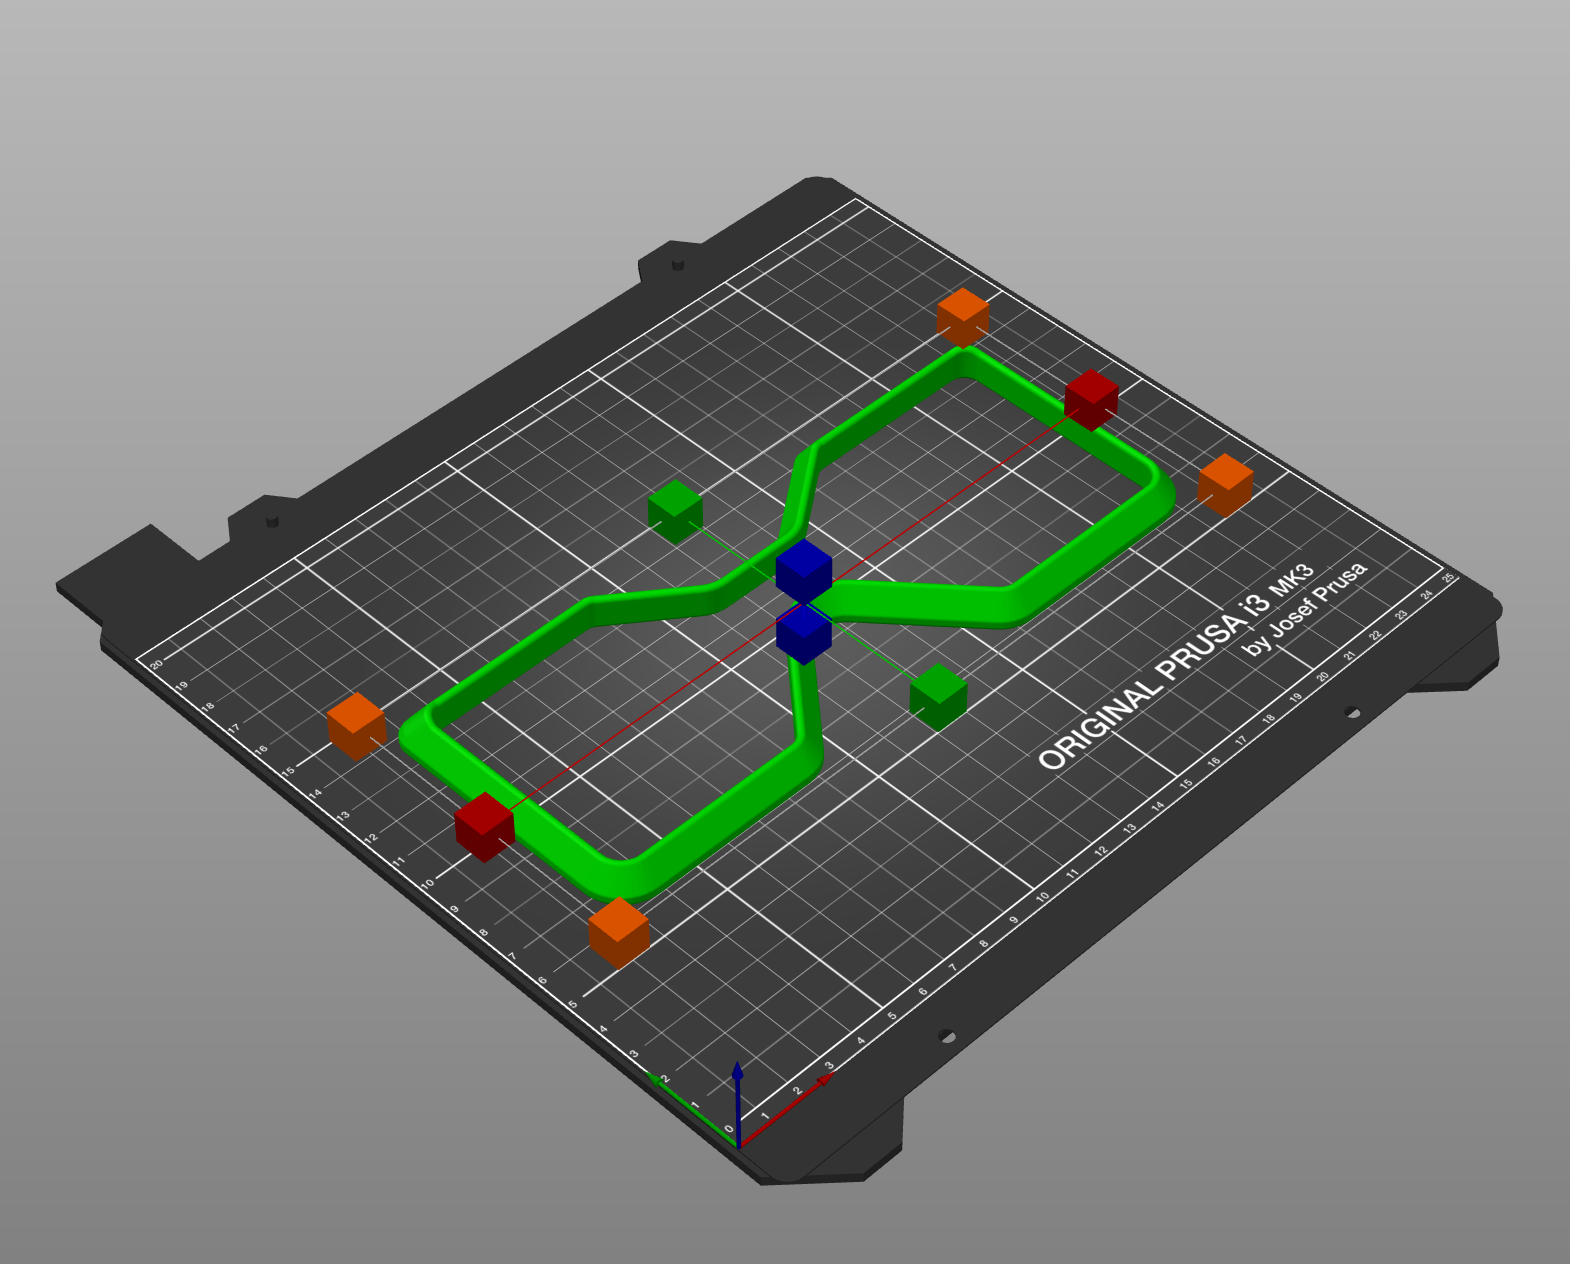
Here, I have a link to donwload my STL file, my 3D model file, and the sliced gcode file (potentially broken link). I also have an image of the frame below, if none of the files are visible (includes the slicing in Prusa Slicer).
I don't really have any intention to actually use this for my final project, though I could use this in the event that my glasses frames break and I can pour the lenses into a mold.
This essentially finishes up my experience with modeling in Fusion360, though I may potentially (probably after the end of the course) model my own design for the outer hull of a wand, into which I can embed the Huzzah board so that I could use various gestures to control one board instead of one gesture to control various boards.
3d photogrammetry scanning
When it came to photogrammetry scanning, I used Bellus3D, a mobile application that scans your face. I used it, because the other applications didn't work, but also because it was quite intuitive and yielded some pretty results.
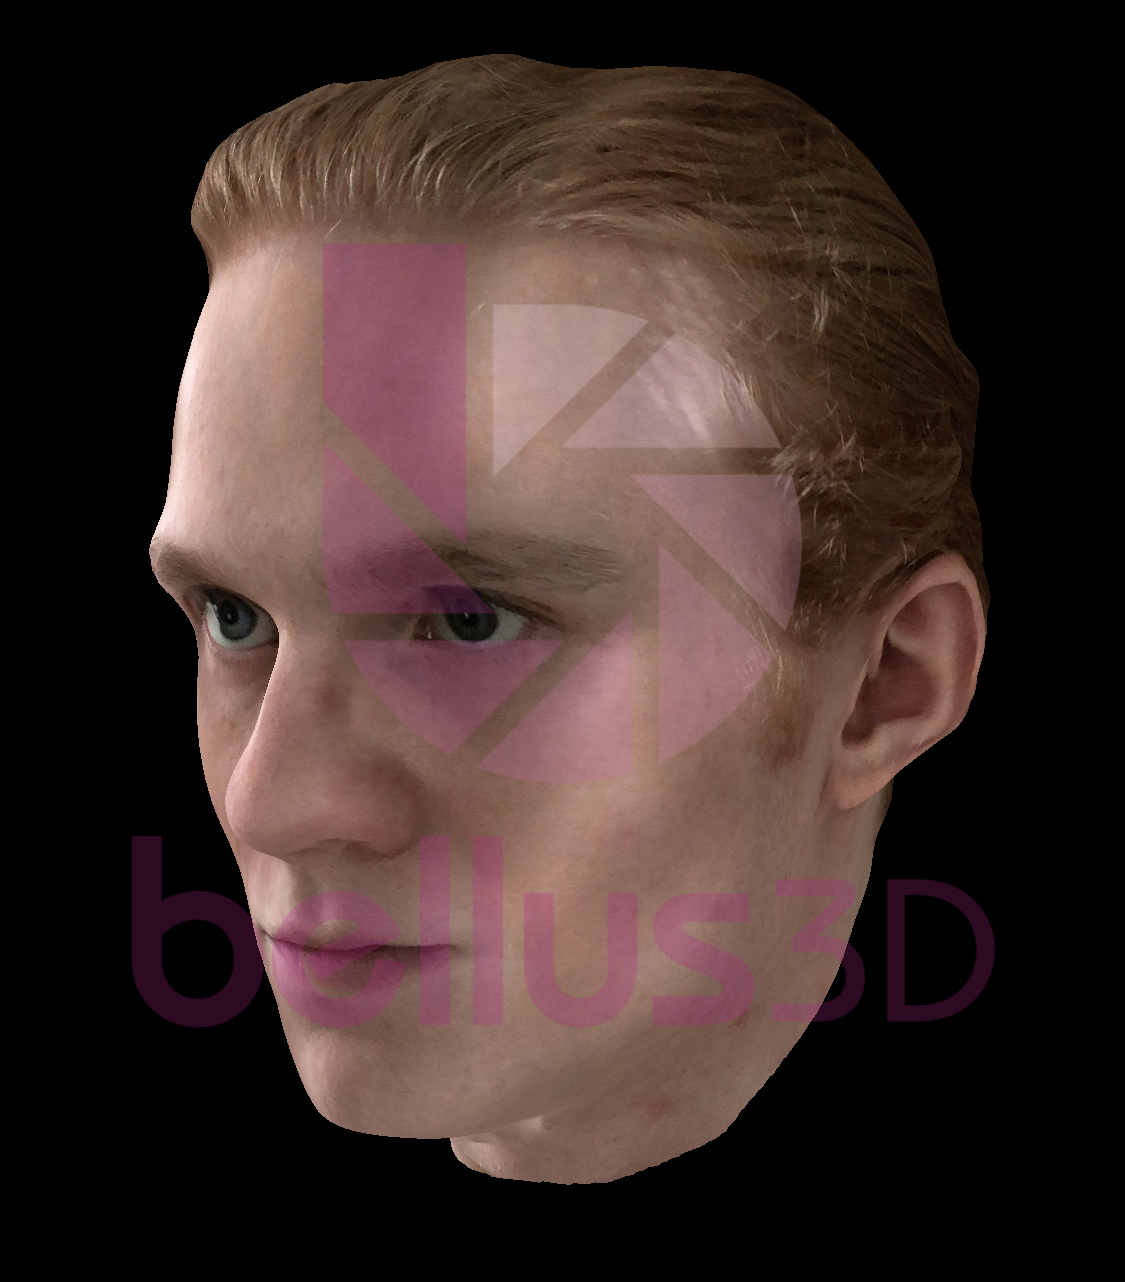
It took a few attempts to get a result I liked, as I had problems with the edges (my ears got all wonky because of my shaky hands). There is still a big hole on the top of my head, but the rest of the model is pretty nice and satisfactory.
extra work
Aside from the standard assignment work for this week, I also did a lot of extra work in an attempt to clean up my work and progress more toward the final project.
final project thoughts
I thought some more about which proposal I really wanted to roll with over the week, and I decided during lab on 13 July that I would roll with my lamp idea. More information on my decision and thoughts, as well as other information regarding my final project, can be found in the final project tab.
overhauling the website
One of the biggest things I did this week, aside from the regular assignments, was a complete overhaul of my entire website. I spent many hours reworking the structure, creating more pages, fully updating them, and catching up on any missing work that I had for some previous classes. I can confidently say that I am much prouder with my site now, and I am ready to put more information into it as I keep progressing in the course.
I was now more ready and equipped to get work done on the final project, as well as more thoroughly document my learning/progress on this site.
With a productive week behind me, I was excited to get into actually working toward getting the final project up and running, as well as learning more about electrical components.
final message: 10 august, 2020
As of 10 August, 2020 (the publishing of this final bit), all documentation of this website has been finalized, and no further documentation will be added to this website. No additional photos, videos, code snippets, models, or commentary will be posted to this site. This website is meant to serve as the documentation of my learning during the Introduction to Digital Fabrication (PHYS S-12) course during Harvard Summer School 2020, and the program officially ended on 10 August. Thus, this website will no longer be edited and nothing will be added to it. This is why my biographical information may no longer be accurate at the time of reading of this page. It has been a fun run, but sadly, the course is over, and thus my documentation is also complete. Thank you to anyone and everyone who helped me along the way, and I am excited for future endeavors!