04: rapid prototyping
introduction
This page details what I learned with class 4, held on 2 July, 2020. With a fairly basic understanding of the fundamentals of how to create simple circuits that do things we want them to do, we were now ready to quickly create small, simple structures and code them to do very basic things.
some more introductions to parts
Here, there was just a little bit more information regarding the final parts in our kit. We simply revisited the basics and covered some miscellaneous kit components. As with the previous class, the link to the sheet containing all of the parts and kit components, as well as links to purchase them with all prices and producers and quantities listed, can be found here.
introduction to arduino
One of the most important things that we had to start learning for this course was Arduino. The Arduino is the programming centerpiece of the entire system that we are using, which means that learning how to use Arduino was crucial to program our microcontrollers to do anything.
our microcontrollers
In our kit, we got two different types of microcontrollers, both compatible with Arduino technology: two Adafruit ESP32 Feather Huzzah boards, and one Adafruit Metro M0 Express board. A little bit of background information on these boards is listed below, and as always, more information can be found on Nathan's GitHub page regarding what microcontrollers even are and what specific microcontrollers we have and will use.
the metro
The more "advanced" of the two microcontrollers that we got in our kit was the Adafruit Metro M0 Express. This board is slightly larger and is a bit more intuitive to use, as the pin numbers are a lot more organized and straightforward. I say this board is a little bit more advanced, because it comes with some libraries pre-installed and available for use, while with the Huzzah, some additional libraries need to either be installed, or helper functions need to be defined in the Arduino code to execute the same functions that come easier to a Metro. I initially used this board to get a lot of the projects done, as it was significantly bigger and easier to understand, though I would eventually switch to the Huzzah.
the huzzah
This board is significantly smaller and a little bit more complicated to understand than the Metro. The pin numbers felt rather weird and out-of-place, but with time, I was able to get used to it as well. It is a little bit simpler than the Metro, though, as some of the libraries available for the Metro are not immediately available for Huzzah, so it is important and necessary to install some additional libraries or define helper functions that provide the functionality not available with the Huzzah.
As always, more thorough explanation of what these boards are and how they work can be found on Nathan's page, and they can be purchased on the sheet with all of the components above.
fundamentals of programming with arduino
We spent this class understanding the fundamentals of programming with Arduino. This programming language is used to control Arduino boards, or any boards compatible with that architecture. It's structured like C and Java, but it is still important to understand and learn how to code. A lot of the references we went over can be found on Nathan's GitHub page here. As with other programming languages, there are booleans, integers, chars, strings, longs, floats, doubles, etc. There are constants, variables, libraries, etc. All of this is found in the documentation.
basic structure of arduino code
An Arduino program (or "sketch") must contatin a setup() loop and a loop() loop. The setup() loop just defines anything necessary to execute when it comes to setting up, like declaring some variables, setting some states, etc. The loop() loop is what code must be executed in the program. It contains all code that needs to be executed, and it will just loop forever.
documenting code
As with anything else, since coding and programming will be an important part of assignments and projects (as well as any other future endeavors), it is important to understand how to document this type of code. In this documentation, I simply just include the code as a chunk in the HTML. The way I documented it can be found in my GitHub repository, in the head and the body of any section where I have any code. It is just important to include the proper JS CDN for the right Arduino highlighting, and then stating the code class as "language-arduino" when creating a code block.
Again, more thorough documentation of the foundations of Arduino, coding, and documenting all of this code can be found in the pages linked above, as well as the resources linked to those libraries. It was simply important to understand how Arduino works.
This was a fundamental and basic introduction to Arduino programming, and it was not too difficult for me to grasp the basic structure, as I was already more-or-less familiar with C and Java from my AP Computer Science class that I had taken. It was simply important that I understood how this worked for future projects, and boy was it important that I learned how to use and program in Arduino to do what I want.
breakout rooms: driving a motor
In this breakout room, we worked on understanding how to use Arduino to wire a circuit to our microcontroller (Metro in the initial case) to drive a motor. The full demonstration and explanation can be found on Nathan's GitHub page as always. This was a fun demonstration and exercise, as we were able to see how we could use the microcontroller to do what we want. While the code was easy, it was still fun to see how it works, and it was important to understand how it works.
assignment
This class's assignment involved creating a kinetic sculpture. I actually held off on this assignment accidentally for a while, and as soon as I came up with my final project idea (more info in the Final Project tab and class 10 page), I wanted to actually use that project to create my class 4 assignment, just for fun. I wanted to create a rather simple kinetic sculpture. I didn't really code anything, but it was fun to just have the motor move the sculpture and produce some mesmerizing results.
the plan
The plan was to have a few concentric pentagons all connected by a wire controlled by a motor. Because the pentagons are of different sizes, they will have different momenta, and will move differently, which should produce some mesmerizing results. There are plenty of awesome examples of kinetic sculptures that can be found on YouTube or online, but mine was the most basic.
the modified plan
After a little bit of experimentation with the bender and figuring out how the sculpture could be created, I eventually decided to scrap that idea and simply model/print a da Vinci Perpetual Motion machine with some marbles on the inside.
doing things a little out-of-order
This assignment actually (honestly speaking) fell a little bit to the wayside when I started refurbishing and overhauling my website documentation (more information in later class pages), so I sort-of forgot about this assignment until near the end of the course, when I was going over everything to make sure my documentation was finalized. The plan was, though, to use my final project (technically class 10 assignment, as that one was 2D) to bend out the pentagon shapes from the wire. Unfortunately, I settled on just making it by myself without the wire after further contemplation and experimentation with the wirebender.
Eventually, I decided on modeling this project in Fusion360 and printing it out instead of making the project from the bender, as I felt that it wouldn't be too stable if I built it from the bender.
the results
Here, I have the actual kinetic sculpture. Putting everything together and seeing it work was pretty mesmerizing, even if I did this assignment sort-of out-of-order. I am still fairly proud of what I created. It took some modeling and some time, but it's still as satisfying result. Here is the downloadable STL file that I used for reference (slightly modified -- I scaled).
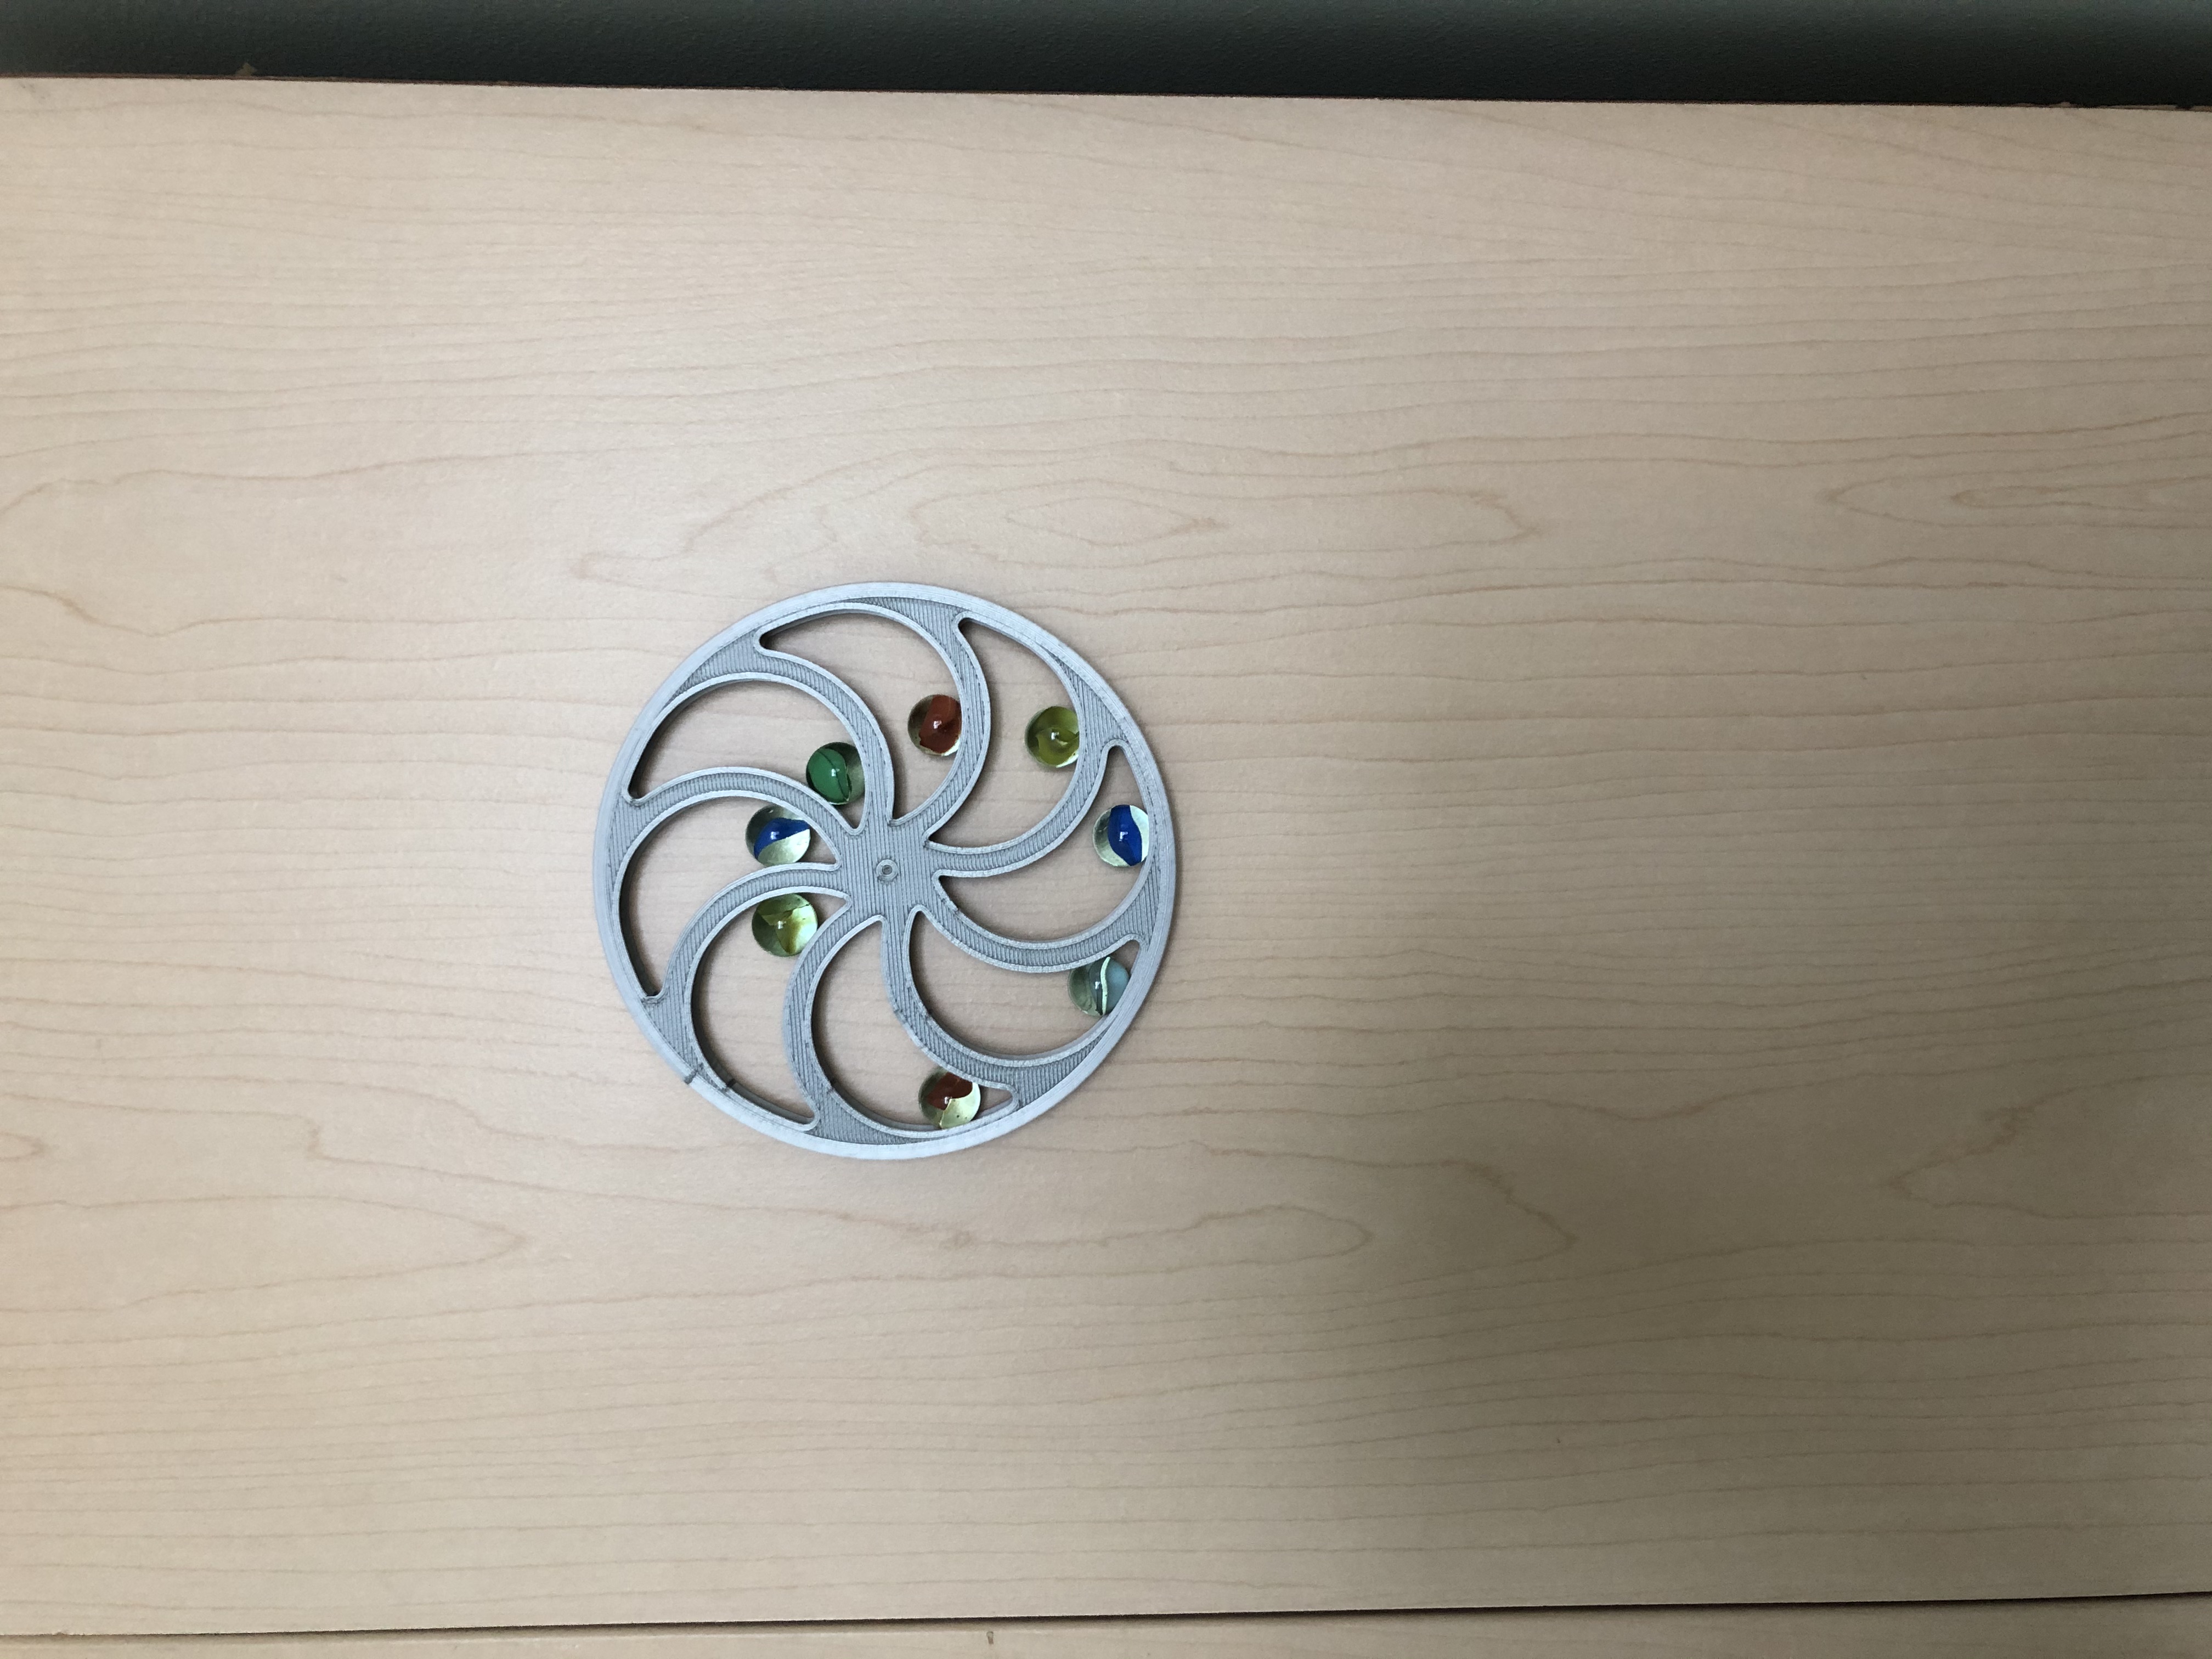
While it felt a little weird to be completing this assignment after the class 10 assignment, it was still satisfying to have this assignment work. I also simply attached the da Vinci machine onto a closet wall and embedded a motor on the interior.
Even though I completed this assignment a few weeks after it was initially assigned, it was still a fun assignment and it was still quite fun to create a kinetic sculpture. Even though mine wasn't that complicated and doesn't even work with the wind, seeing a tiny sculpture move with a motor was still interesting and enjoyable to craft. It was especially enjoyable and satisfying to completely 3D print basically everything for the suclpture.
final message: 10 august, 2020
As of 10 August, 2020 (the publishing of this final bit), all documentation of this website has been finalized, and no further documentation will be added to this website. No additional photos, videos, code snippets, models, or commentary will be posted to this site. This website is meant to serve as the documentation of my learning during the Introduction to Digital Fabrication (PHYS S-12) course during Harvard Summer School 2020, and the program officially ended on 10 August. Thus, this website will no longer be edited and nothing will be added to it. This is why my biographical information may no longer be accurate at the time of reading of this page. It has been a fun run, but sadly, the course is over, and thus my documentation is also complete. Thank you to anyone and everyone who helped me along the way, and I am excited for future endeavors!