02: 2d design & cutting
introduction
This page details what I learned with class 2, held on 25 June, 2020. After getting a little bit more acquainted with the actual course and the way it would be structured and taught, I was ready to learn some actual stuff pertaining to designing and creating things.
fusion360
In this class, we got acquainted with designing and modeling in online software. In this course, we are using Fusion360 as the default modeling system. Though others are allowed, this is the most common one that we are using.
initial thoughts
Initially, I saw a lot of similarities between Fusion360 and AutoCad. Though they are both from the same software (Autodesk), there are a few similarities and differences. Overall, I felt that it would probably be rather simple to transition between the two.
comparisons to autocad
The layout of all of the tools was pretty similar between AutoCad and Fusion360. Thus, figuring out where everything was and what exactly everything did felt fairly easy to me at first. Though, working with the 3D axis was surprisngly challenging for me, as picking the proper axes was rather wonky.
breakout rooms: tutorials
During the breakout rooms, we worked through a few tutorials for Fusion360. These tutorials provided a basic overview of what functions existed, what they did, and how to use them to create simple models. There are a few great tutorials on the official GitHub page for the class, though i also incorporated my personal knowledge from AutoCad and other tutorials online.
assignment
This week's assignment was to create three models of a few components from the kits that we received, followed by an assembly. These models were to be done in Fusion360, and photos (or rather screenshots) of those models are also to be uploaded here, along with a description of the learning process.
working through some more tutorials
Before getting through to actually modeling anything in Fusion360, I wanted to run through a few more tutorials, to make sure I understood exactly how to work with Fusion360.
specific tutorials
As for specific tutorials, there weren't exactly any specific tutorials that are better than any others, as I simply searched on YouTube and clicked the first two results. The tutorials suggested on Nathan's GitHub page for assignment 2 are the best.
After going through these tutorials, I was now ready to get to modeling some components, if it weren't for some other issue...
issues with the kit
I would've loved to model tools from the kit, if there weren't one issue: I didn't get the kit yet! USPS was running into some rather interesting issues with delivering my kit, so I instead decided to work with what I had.
the models
As I wrote above, since I didn't have my kit yet, I decided to work instead with what I already had. I decided instead to model a jo staff (martial arts weapon), a whiteboard, and a 5-pound dumbell.
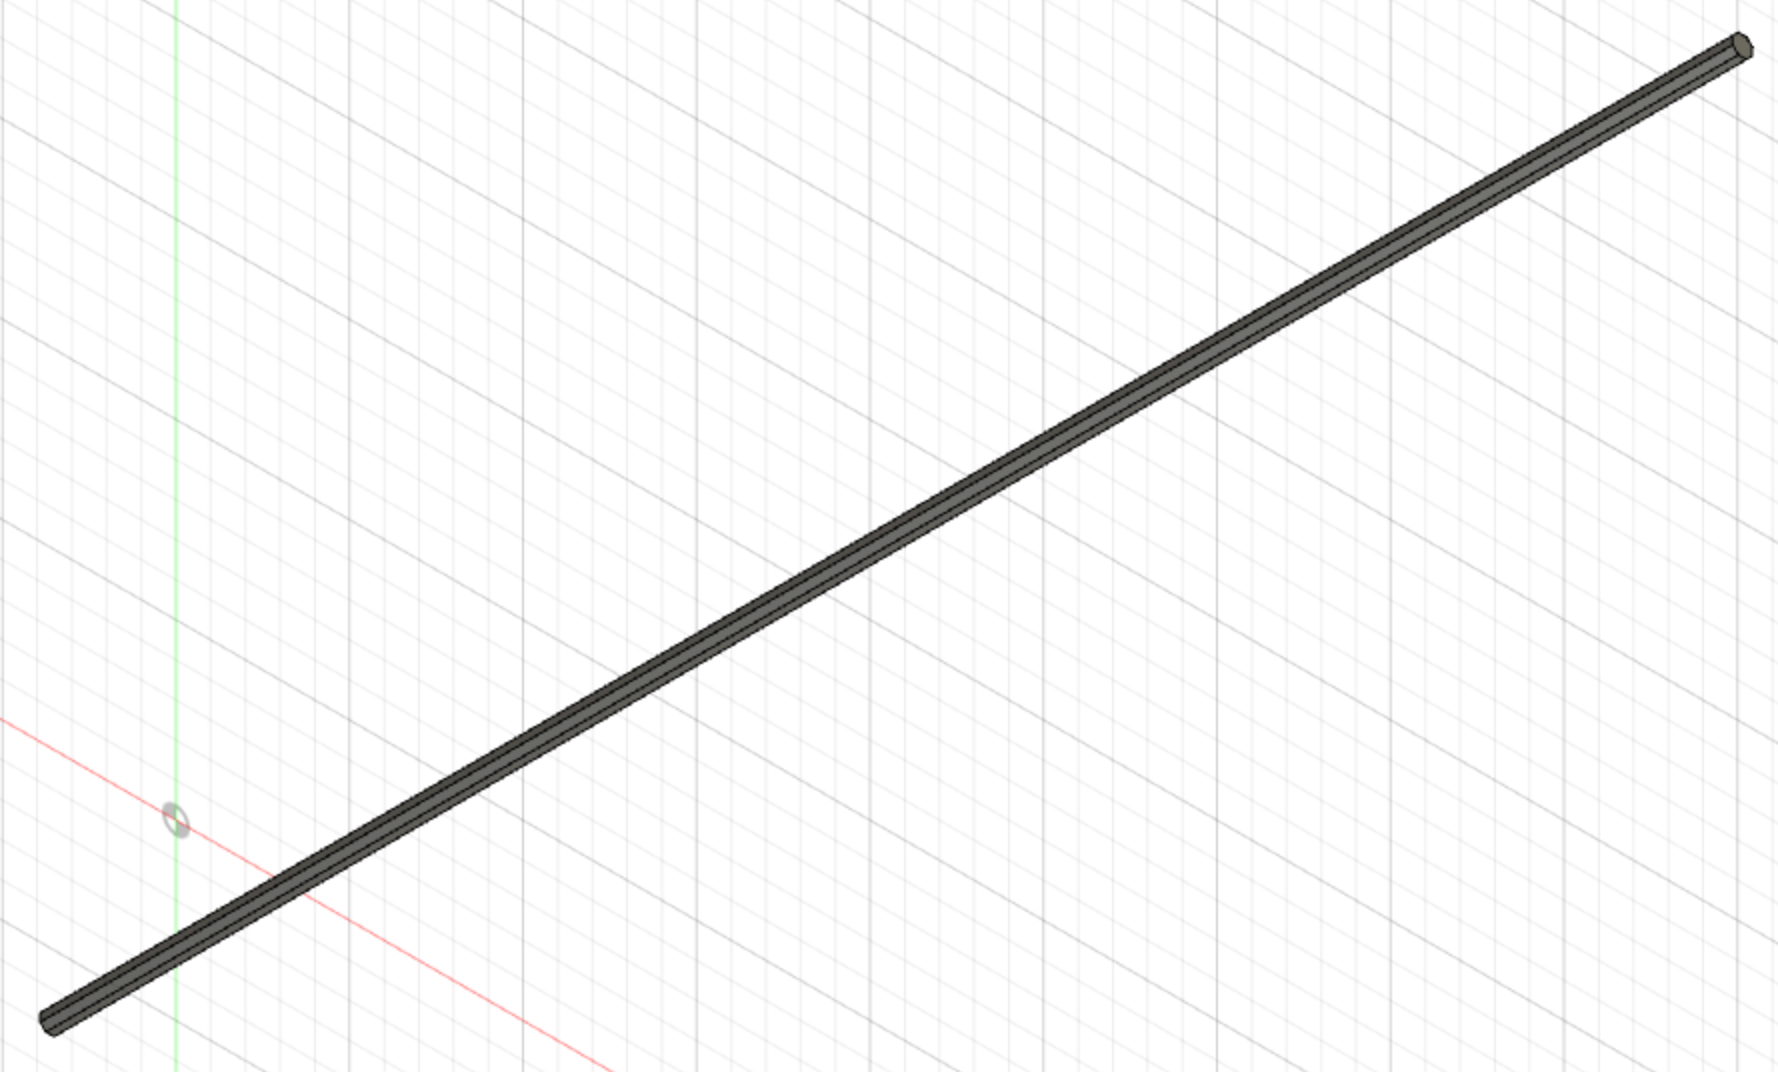
model 1: the jo
Here, I model the jo staff. This one was the simplest by far, as it was a (slightly rounded) octagonal prism approximately 4 feet in length. This practiced my rounding techniques, and was a simple exercise in extrusion.
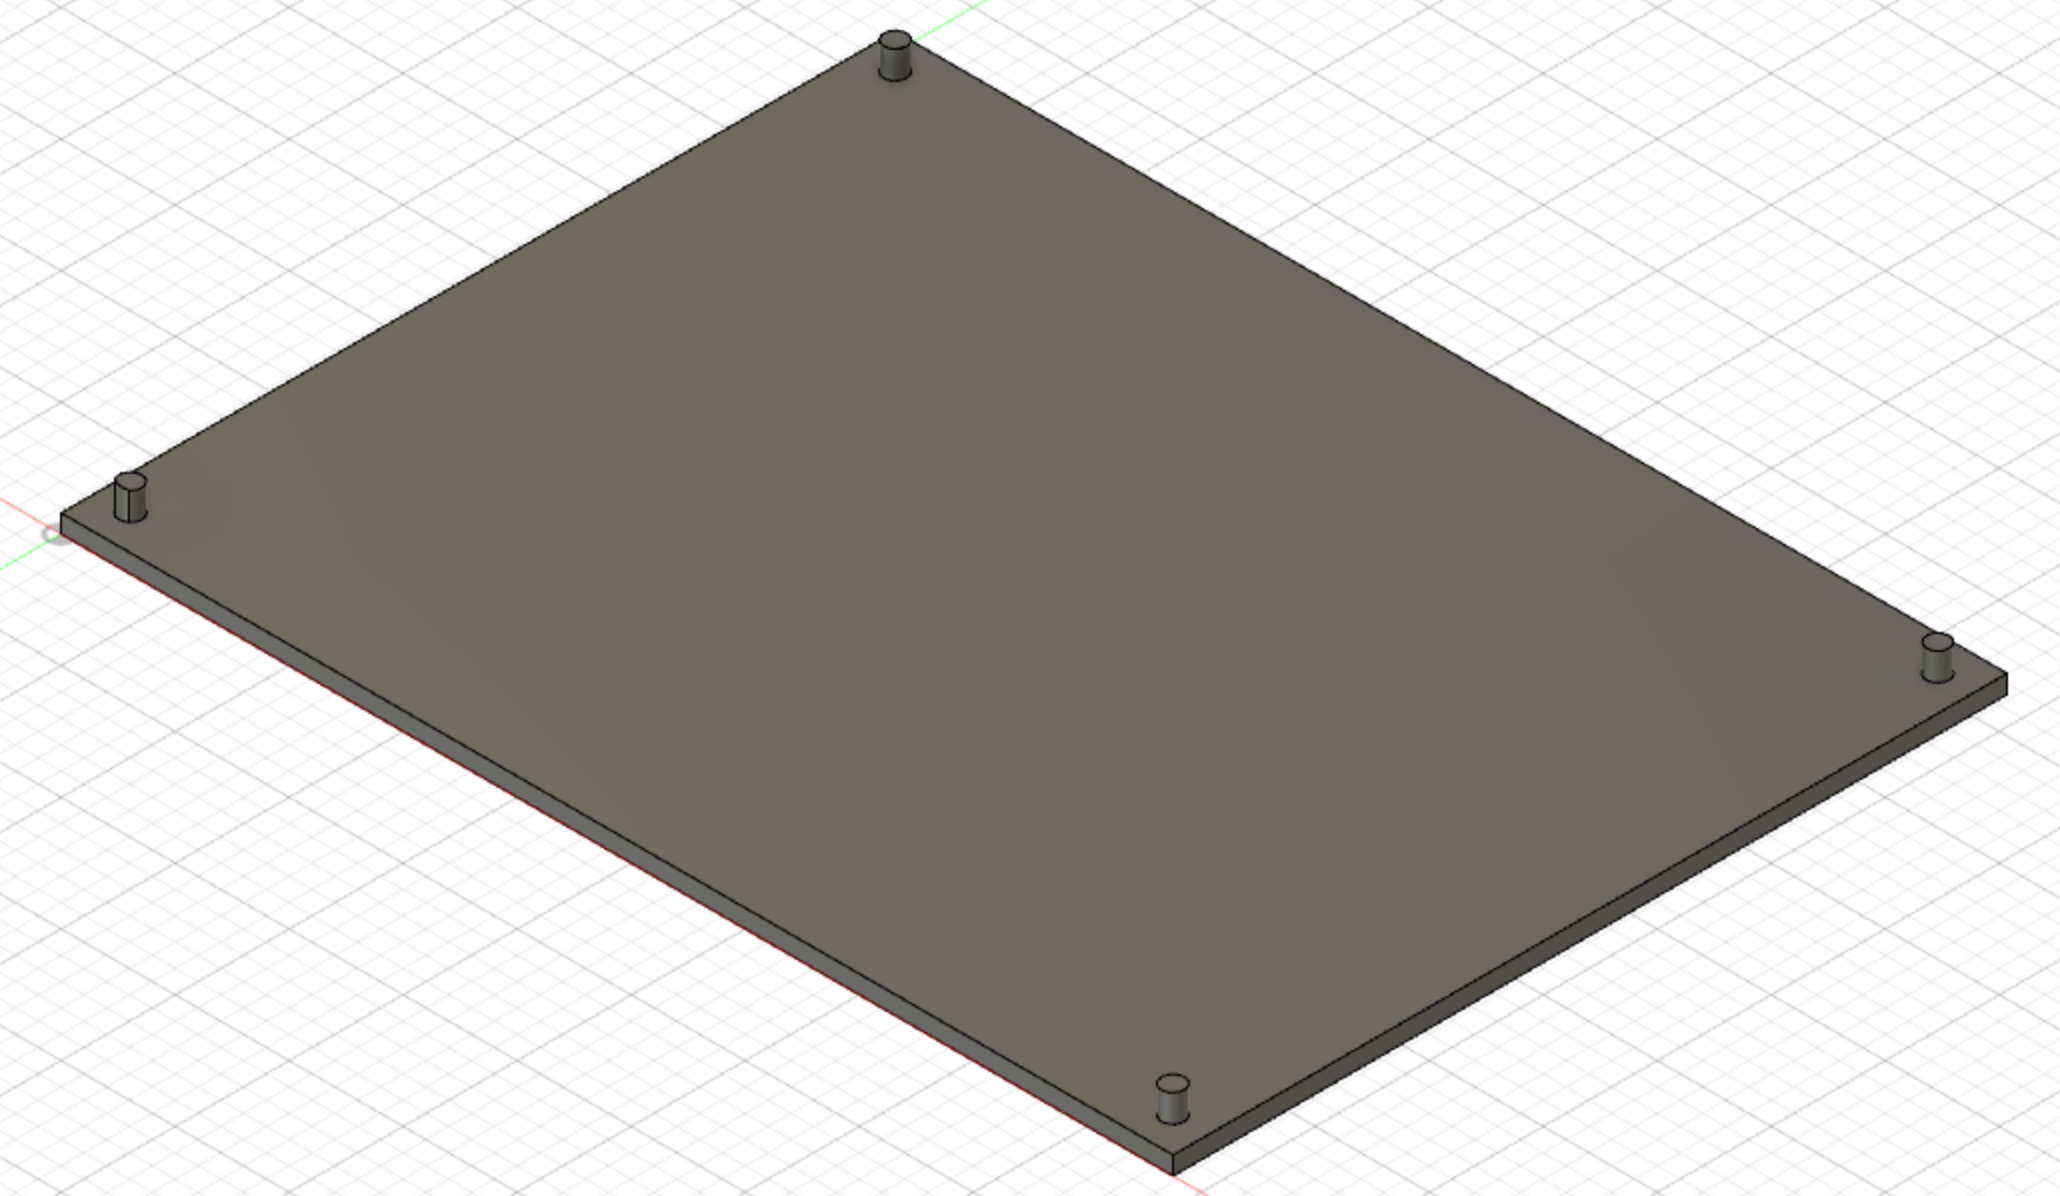
model 2: the whiteboard
The whiteboard was slightly more complicated, as it consisted of several parts, but getting them all together was simple enough. I got the main board done first, which was a simple (very slightly rounded) rectangular prism 36'' by 4'' by 0.5''. I then added cylinders embedded a few inches into the board at all of the corners. The result, whilst primitive, is still quite nice.
model 3: the dumbell
This one was probably the most complicated out of all of them, though it was still not too complex. This involved creating two short, thicker cylinders connected by a longer, thinner cylinder in the middle. Smoothing out the edges was probably the most annoying part of it all, but I got a pretty nice result in the end.

With all of those models done, I finally had completed the assignment. Since these were not technically component parts, I did not actually create an "Assembly" for these parts, but you could stack these models in Fusion360 if you really wanted to, though I'm not quite sure why you would ever do that...
After finishing the assignment, I reviewed some of the reading materials, and proceeded to think more about final project proposals. All information and documentation about my final project can be found in the final project tab above.
final message: 10 august, 2020
As of 10 August, 2020 (the publishing of this final bit), all documentation of this website has been finalized, and no further documentation will be added to this website. No additional photos, videos, code snippets, models, or commentary will be posted to this site. This website is meant to serve as the documentation of my learning during the Introduction to Digital Fabrication (PHYS S-12) course during Harvard Summer School 2020, and the program officially ended on 10 August. Thus, this website will no longer be edited and nothing will be added to it. This is why my biographical information may no longer be accurate at the time of reading of this page. It has been a fun run, but sadly, the course is over, and thus my documentation is also complete. Thank you to anyone and everyone who helped me along the way, and I am excited for future endeavors!