05: programmable electronics
introduction
This page details what I learned with class 5, held on 7 July, 2020. After a quick introduction to arduino and how to code circuits to give us outputs, we started getting a slightly better feel for arduino and a few of the more complicated structures.
more programming in arduino
During this class, we reviewed the basic info that we had learned in the previous class, but we also delved a little more deeply into simplifying code and making it much more efficient, through both conditionals and loops.
conditionals
In any programming language, conditionals are used to force an output using some sort of given input. In other words, it executes some block of code if some sort of conditional is satisfied. These are done through the if() conditional, where if whatever is inside the statement is true, then whatever is in the brackets is executed. As an example, if(condition){execution} will execute execution if condition holds true, and won't otherwise. You can add in else() afterward for it to execute something else (rather than nothing) should the condition not hold true, but this isn't necessary.
loops
Loops are a fantastic way of continually executing code either for a given duration of time, given number of iterations, or while some sort of conditional holds true. The two most common types of loops that we will be using to code in Arduino are while() loops and for() loops.
while() loop structure
while() loops, as stated previously, executes a block of code while a given condition holds true, and will exit the loop as soon as the condition no longer holds. The basic structure is while(condition){execution}, and this will stop executing execution as soon as condition no longer holds true.
for() loop structure
for() loops are structured a bit differently than while() loops, but have basically the same purpose: execute a block of code while a condition holds true. The structure is a bit different, however: for(int var = initial value; i < final value; i++){execution}. This is the traditional format of the loop, though it may vary. It essentially executes a command for a given number of iterations.
With the basics sorted out here, we were now ready to employ these conditionals and these loops to simplify code and write more complex code in Arduino to do all sorts of funky things with our boards!
There are of course a variety of other things that we went over, such as "shorthand" operations (such as compound operators), but these were not necessary to employ in our code, as the main purpose of those exercises was to demonstrate how to use conditionals to execute one thing given one condition, and another given another. It also was meant to show how to execute the same chunk of code for some given amount of time/iterations, which would come in real handy (especially for my final project).
breakout rooms: working with conditionals and loops
We would proceed to have two breakout room sessions, during which we practiced working with conditionals and loops, respectively.
breakout rooms 1: counting button pushes
In the first breakout room session, we focused on applying what we learned to count the number of button pushes. The way to do this is quite simple: since we can check button state, all we need to do is check the button state and compare it to the very previous button state. In other words, we start off with the state as HIGH (off) for example, and then whenever the button is pushed, we change the state to either LOW (on) or HIGH (off), depending on what the current state of the button is. Then, as soon as the state is changed, increment an integer variable button_pushes by 1. This way, every time the state changes, we know the button has been pushed, and so we increment. Here is an example of that in action.
                const int button = 3; // button pin
                int state = 0;        // this will measure the current state of the button
                int prev = 0;         // this will measure the previous state of the button

                void setup(){pinMode (button, INPUT);} // will read the button as an input

                void loop(){
                  state = digitalRead(button); // read the current state of the pin
                  if(state != prev){
                    // if the current state and the previous state don't match up, increment
                    if(state == HIGH) pushes++
                  }
                  prev = state;
                }
With that done, I was now able to measure changes to the button state, and produce some sort of output.
breakout rooms 2: controlling leds with for() loops
Now that we had some practice with implementing if() conditionals into our code, we were ready to practice controlling multiple LEDs with some for() loops.
                const int led_1 = 3;  // LED 1
                const int led_2 = 4;  // LED 2
                const int button = 5; // button
                int pushes = 0;       // button button
                int state = 0;        // current state
                int prev = 0;         // previous state

                voic setup(){
                  pinMode(button, INPUT);
                  pinMode(led_1, OUTPUT);
                  pinMode(led_2, OUTPUT);
                }

                void loop(){
                  state = digitalRead(button);
                  if(state != prev && state == LOW){
                    for(int i = 0, i <= 250, i++){
                      digitalWrite(led_1, HIGH)
                      if(led_1 == HIGH){
                        for(int j = 0, j <= 250, j++){
                          digitalWrite(led_2, HIGH)
                          delay(10)
                        }
                      }
                      digitalWrite(led_1, LOW)
                    }
                  }
                }
I had some issues with controlling them with nested for() loops, though I was able to work with nested if() conditionals. The breakout room sections are now complete.
With that practice, I was ready to move on to the assignment!
assignment
For this assignment, we needed to code our board with a conditional and loop to control some output with a button input, as well as develop another 3D model as progress for our final project.
working with arduino
After learning so much about programming in Arduino, I was ready to finally get into programming the board, but this is when I remembered the issues that I had been runnning into for a few days.
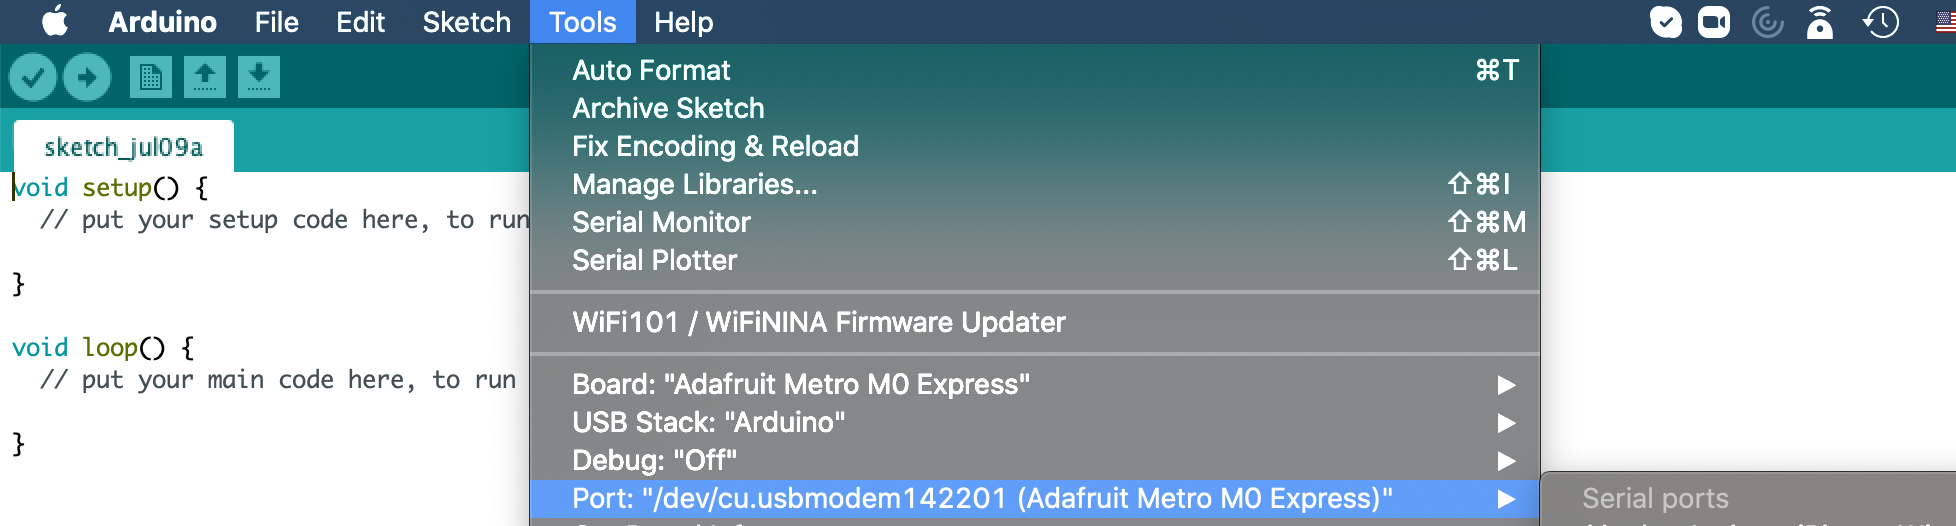
problems with the board
The biggest issue I ran into whilst creating this wasn't actually coding the buttons and LED's, however; it was actually getting my Arduino to work. The issue had to do with trying to get the right port to appear. Essentially, I was not able to upload code into my Arduino, because the proper port was not showing up, and so even though my code was compiling, nothing was being executed. I tried restarting Arduino, restarting my computer, switching to the ESP32 Huzzah board, but alas, nothing happened. I even tried a few different cables to plug into my computer, but they provided no satisfactory results either. I even inquired with Rob and Victoria, and none of us could isolate the issue for quite a while. In the meantime, I tried coding the circuit to do what I wanted, so I would be able to just upload the code into the circuit once I got the board itself to work.
fixing the issue
In the end, the issue lay exactly with which cable I was using, as I was only able to find cables that provided power without control, and when I found a small cable that also provided control, I was finally able to connect to the right serial port. After all of that hard work, I was finally able to properly communicate to my Arduino board once again. I learned a lot about how different things can affect communication between a computer and the Arduino board, but learned that it's extremely important to distinguish which cables will provide both power and control, and which won't.
Finally, I had gotten it to work! I informed Rob and Victoria that their final suggestion ofchanging out the cable one more time was the correct solution.
the results
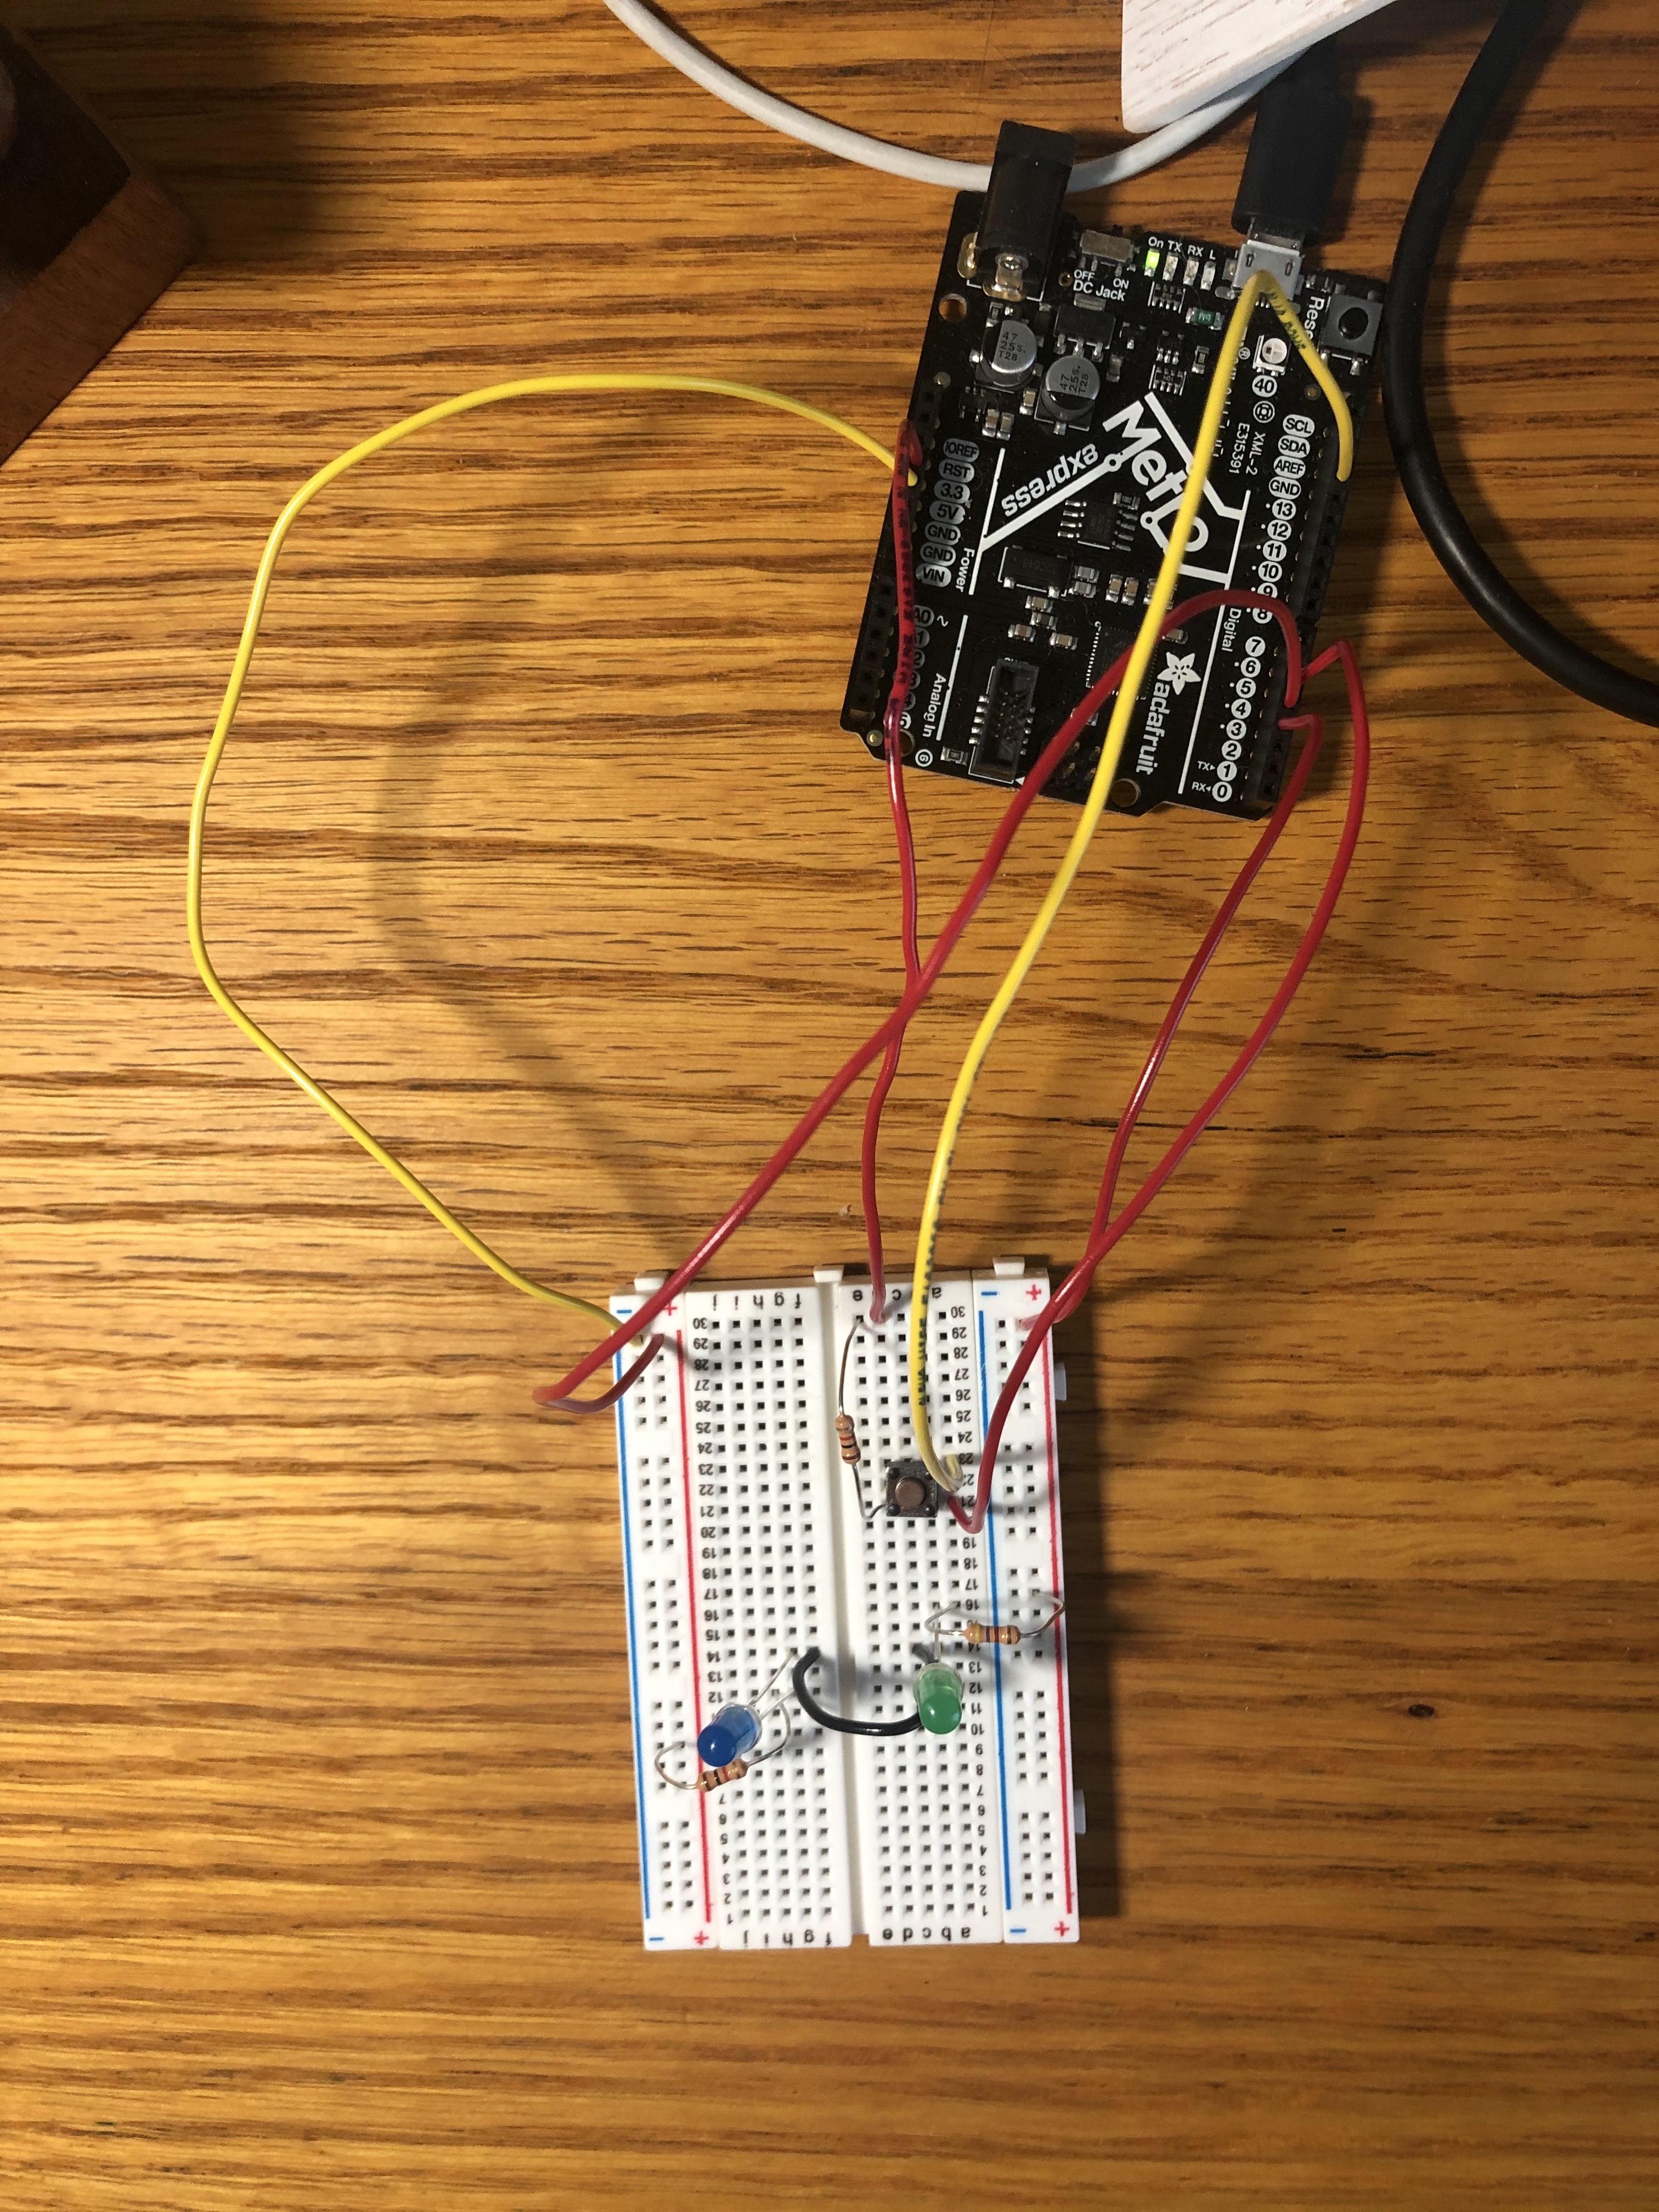
Once I had finally gotten the board to work, I was excited to start wiring up the circuit and coding it. I wanted to control two separate LEDs, with one turning on and the other turning on depending on the parity of button pushes (one for even, one for odd). This is a similar idea to some of my other classmates, and I was excited to see what I would get. My code can be seen here.
                  // set pin values (as constants)
                  const int green = 3;
                  const int blue = 4;
                  const int btn = 5;

                  // define non-constant variables
                  int state = 0; // current state
                  int prev = 0 ; // previous state
                  int pushes = 0; // # of pushes

                  // set the LED pins as outputs and the button pin as input
                  void setup(){
                    pinMode (green, OUTPUT);
                    pinMode (blue, OUTPUT);
                    pinMode (btn, INPUT);
                  }

                  // main method
                  void loop(){
                    state = digitalRead (btn);  // get the state
                    // check if button has been pushed, and increment # of pushes accordingly
                    if (state != prev) {
                      if (state == HIGH) pushes ++;
                      delay (100);
                      prev = state;
                    }

                    // if button is pushed, execute following
                    if (state == LOW){
                      // if the parity is even, turn on the green LED
                      if (pushes % 2 == 0){
                        digitalWrite (blue, LOW);
                        digitalWrite (green, HIGH);
                      }
                      // if the parity is odd, turn on the blue LED
                      else if (pushes % 2 == 1){
                        digitalWrite (blue, HIGH);
                        digitalWrite (green, LOW);
                      }
                    }
                    // account for case when the button wasn't pushed at all
                    // in that instance, keep both LEDs off
                    digitalWrite (blue, LOW);
                    digitalWrite (green, LOW);

                    delay (500);
                  }
Unfortunately, when wiring it, I did run into some trouble with actually executing the code. The wiring should be correct, though I will see if I can modify it in coming classes.
With that very long journey, part one was (mostly) complete. I was (more or less) ready to move on to the 3D modeling.
modeling in fusion360
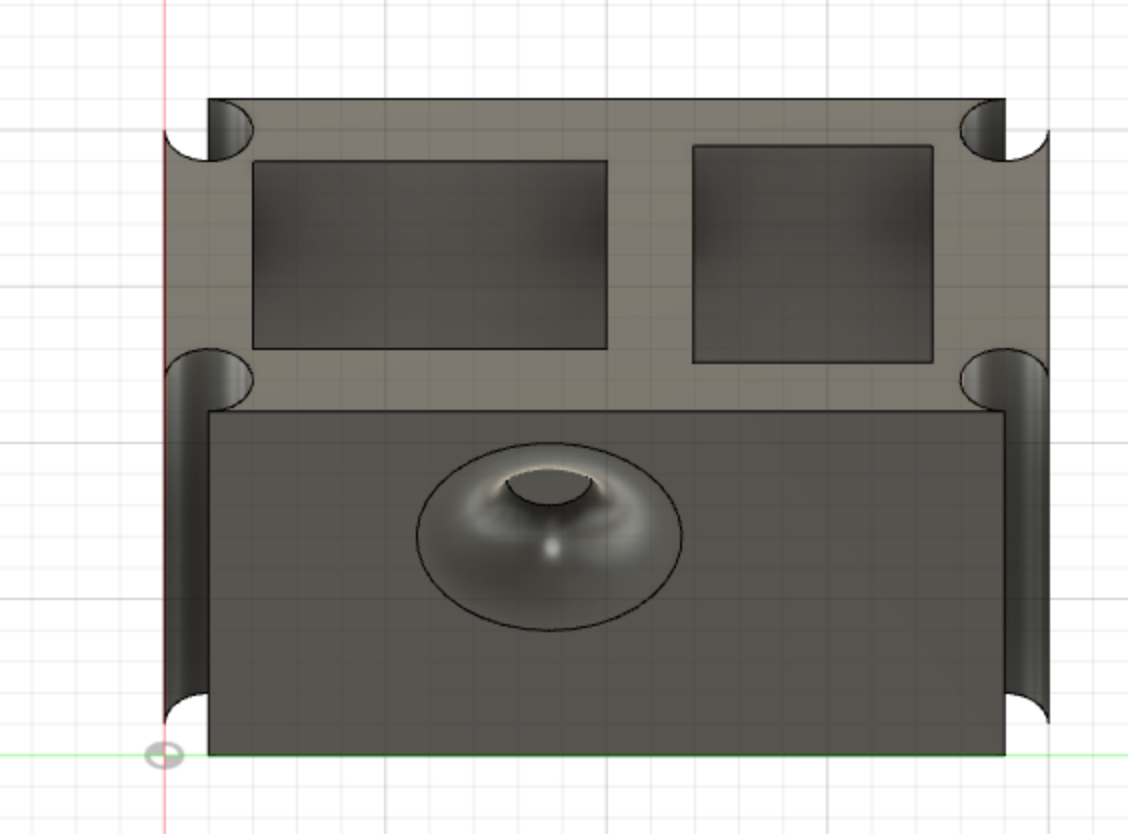
Thankfully, 3D modeling didn't give me nearly as much practical trouble. Instead, it gave me a slightly different kind of trouble, as some of the functions were not working with me. Selecting proper bodies and working with the right axes is still annoying, as selecting multiple at once or choosing them in the wrong order can result in errors that will not yield the proper results. After a lot of fiddling and a lot of measuring, I settled on a basic design for the outer hull of one of my proposed final projects: the useless machine. One part will contain the little figurine that will do all of the communicating to the human, and the other will house the Arduino board along with all of the circuitry. I added an impress on the side as an indicator of where the button/switch to activate the thing will be.
I would eventually decide on not using this for my final project, as I chose the lamp idea as my final proposal instead.
thinking more about the final project
I also spent some more time thinking about the final project, and trying to decide exactly which proposal I should roll with. I would keep pondering this for a few days afterward. All information pertaining to that can be found in the final project tab above.
This was overall a long week for me, as a lot managed to happen. However, I did gain a lot of knowledge about how these boards, Arduino, and Fusion360 work. Even if I did not get the results from the board that I wanted, I learned how to troubleshoot these errors.
final message: 10 august, 2020
As of 10 August, 2020 (the publishing of this final bit), all documentation of this website has been finalized, and no further documentation will be added to this website. No additional photos, videos, code snippets, models, or commentary will be posted to this site. This website is meant to serve as the documentation of my learning during the Introduction to Digital Fabrication (PHYS S-12) course during Harvard Summer School 2020, and the program officially ended on 10 August. Thus, this website will no longer be edited and nothing will be added to it. This is why my biographical information may no longer be accurate at the time of reading of this page. It has been a fun run, but sadly, the course is over, and thus my documentation is also complete. Thank you to anyone and everyone who helped me along the way, and I am excited for future endeavors!